
How to Prevent Mosquitoes in Your Pond
Ready to plan a lasting water feature for your backyard? This guide walks you through each step to design, build, and maintain a durable koi pond that keeps fish healthy and the ecosystem stable.
Expect clear choices on size, depth, and equipment so you avoid costly mistakes. You’ll learn realistic costs—DIY under $2,000, pro installs often $10,000–$20,000—and the typical upkeep time that keeps water quality high.
Key components you will use include a quality liner, pump, mechanical skimmer, biological filter, and optional waterfall for extra aeration. Plan for at least 3 feet of depth to protect fish from heat and predators.
Follow this step-by-step plan to size your feature, choose location near hose and power, cycle the system, and keep weekly care to about 15 minutes. With good setup and regular checks, your yard will host a vibrant, long-lived fish pond.
Key Takeaways
- Plan first: size, depth, and location determine long-term success.
- Budget realistically: DIY can be under $2,000; pros often cost $10k–$20k.
- Depth matters: 3 feet minimum protects fish and stabilizes water.
- Essential gear: liner, pump, filters, skimmer, and optional waterfall.
- Routine care: daily feeding and ~15 minutes weekly keeps the system healthy.
Plan Your Koi Pond: Location, Permits, and Budget for a Lasting Backyard Feature
Good planning saves time, money, and surprises. Start by picking a spot that gets partial sun and partial shade to keep water temperatures steady and limit algae. Position the feature near an outdoor electrical outlet and within reach of a garden hose for easy setup and routine care.
Safety first: call 811 to locate underground utilities before you dig. Excavation can go feet deep, and utility lines often sit 12–24 inches below grade. Large projects and any plumbing or electrical work usually need permits, so check local rules early to avoid delays.
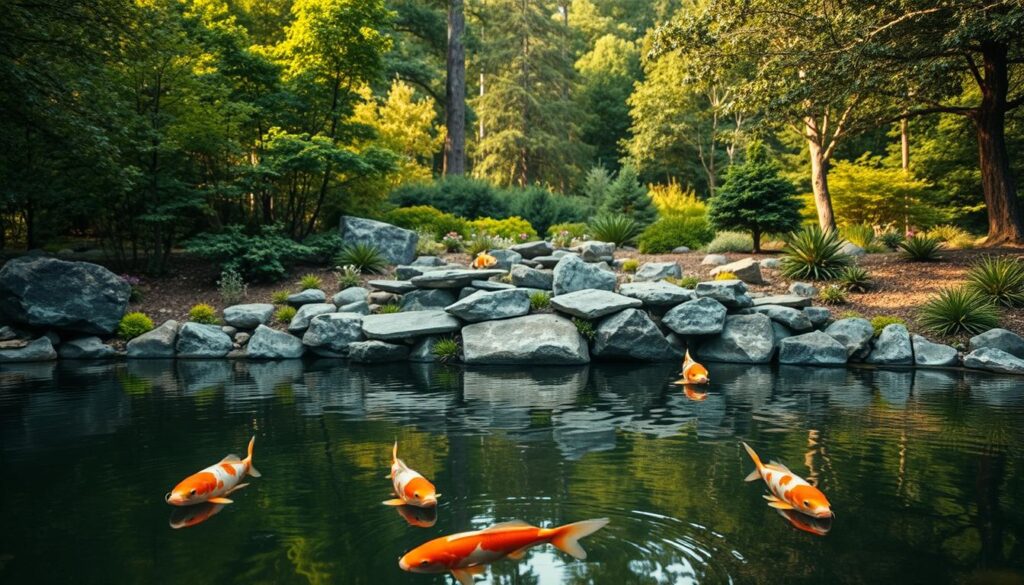
- Balance sun and shade; plan sightlines from your home so the water is visible from inside.
- Budget realistically: DIY can be under $2,000; professional installs often run $10,000–$20,000.
- Include essential gear in estimates—liner, pump, filtration, skimmer, and possible waterfall for aeration.
“Locate the project near power and a hose, and call your local utility locator before any digging.”
Assess the ground, slope, and drainage so stormwater won’t wash debris into the water. Size the pump and filtration during planning to avoid costly rework later. With clear plans for location, permits, and costs, your backyard feature will be easier to build and maintain.
Design the Right Size and Depth to Keep Water Healthy and Koi Safe
Choose the right volume and depth first—these two decisions control water stability and fish safety. Plan a layout that balances usable backyard space with enough gallons to dilute waste and support bacteria that keep the system stable.
Why at least 3 feet deep matters
Depth gives fish refuge. A minimum of 3 feet allows descent into cooler layers when surface temperatures rise, and it helps fish escape predators. Target temperature range for healthy koi is roughly 59–77°F, and deeper basins hold heat more slowly.
Gallons and footprint guidance
Use gallons-per-fish to set size: about 1,000–1,500 gallons suits roughly five fish, while 3,000+ gallons is safer for 10 or more as bioload grows.
- Example footprints: ~6 by 8 by 3 feet ≈ 1,000 gallons; ~18 by 24 by 3 feet ≈ 3,000 gallons.
- Include shelves and deeper refuge zones so fish can access shade and cool water.
- Plan a bottom drain to a settling chamber, and confirm pond liner dimensions plus ground support before excavation.
“Design volume first—bigger water buffers quality and lowers maintenance.”
Tools, Materials, and Filtration Basics for Reliable Water Quality
Good water quality begins with the right liner, drain, and filtration strategy. Start by assembling core parts so you can test fit and route plumbing before any digging.
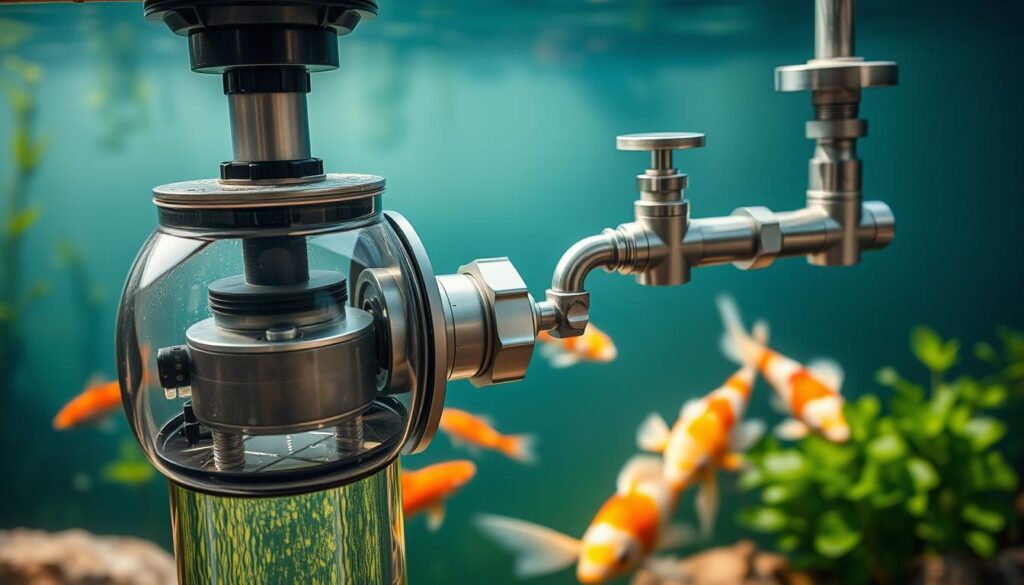
Essentials to have on hand:
- 45 mil EPDM pond liner and durable edge materials.
- Bottom drain (4-inch) with 4-inch flexible hose to a settling chamber.
- Mechanical pond skimmer, appropriately sized filters, and a submersible pump.
How filtration works
Mechanical filtration traps leaves and debris so screens and settling chambers keep solids out of media filters. Biological filtration hosts beneficial bacteria on media to convert ammonia and nitrite into safer forms.
Aeration and backups
Waterfall or fountain features add oxygen and boost bacteria performance. For heavily stocked systems, add a dedicated air pump as a backup so oxygen stays steady if waterfalls stop.
“Size the pump so it moves at least half the pond volume every few hours to keep filters effective.”
Use a garden hose and marking paint to map shapes, choose quality liners and fittings, and place filters and skimmers for easy service. That planning keeps water clear and reduces routine work.
Step-by-Step Koi Pond Building: From Layout to Liner
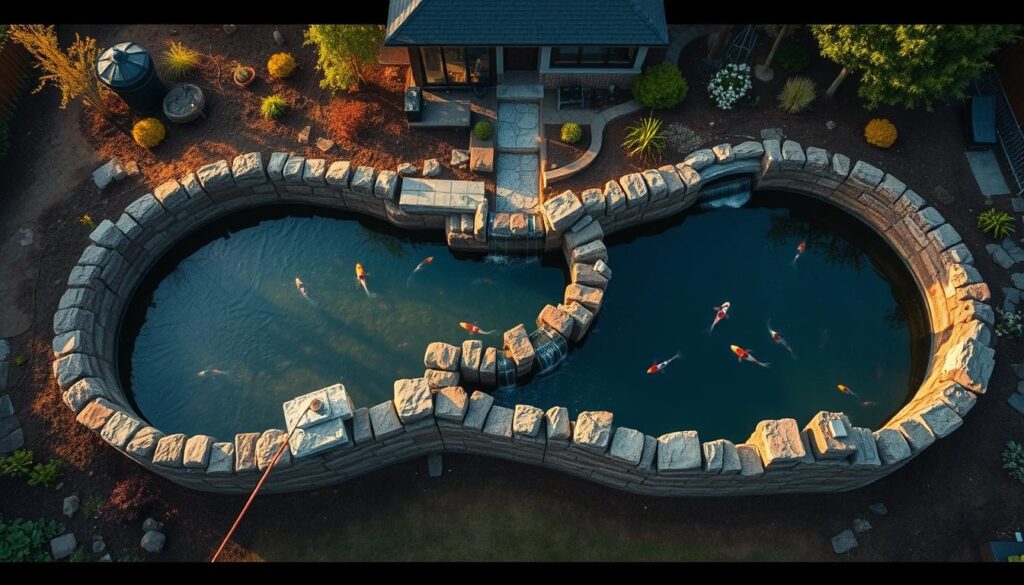
Start smart and save time. Begin by tracing shapes with a garden hose. Move the hose until curves and edges fit your sightlines, then mark dig lines clearly on the ground.
-
Excavate and terrace
Dig the hole by hand or with a mini-excavator. Terrace sides in 5–7 inch steps instead of steep walls for stability and plant shelves.
Create refuge zones at least 3 feet deep so fish have cool water.
-
Install drain and hose
Trench to the lowest point and fit a 4-inch bottom drain. Run a 4-inch flexible hose to a surface-level settling chamber for easy cleaning and access.
-
Fit the liner and edge protection
Clear sharp debris and lay the 45 mil EPDM liner on a warm day. Leave at least one foot of overlap along banks.
Secure edges with large, flat stones and add smooth stones on the bottom to protect the liner from punctures.
-
Plumb equipment and test flow
Install the submersible pump, pond skimmer, and biological filters before filling. Size the pump so its GPH is at least half the pond volume for proper circulation.
Check unions and clamps, prime the system, and confirm returns don’t create dead zones where debris gathers.
Final step: Fill slowly with a garden hose, watch the liner seating and stone edging, and leave easy access to the settling chamber for routine service.
“Aim for steady circulation and easy access; those two choices cut maintenance and keep water clear.”
Start-Up, Cycling, and Adding Koi Without Stress
Begin with a slow fill, proper dechlorination, and immediate circulation through your filters. Fill using a garden hose, follow the dechlorinator label, and run the pump so new water moves through the system right away.
Seed biological filtration early. Add beneficial bacteria from a trusted starter product or transfer media from an established filter. These microbes begin the nitrogen cycle that protects water quality.
Include hardy plants to absorb excess nutrients and boost oxygen. Plants help but do not replace a correctly sized filter and pump.
Introduce fish slowly
- Float bags with pond water for about 15 minutes to equalize temperature before release.
- Add only a few fish at a time—about five in the 5–6 inch range—so the biofilter can adapt.
- Keep aeration and the pump running continuously; oxygen supports bacteria and the ecosystem.
“Test ammonia and nitrite daily during cycling and feed sparingly; excess food raises ammonia and slows the process.”
Maintenance, Water Quality, and Seasonal Care Made Simple
Routine care keeps water clear and fish healthy with just a few focused steps each week. A short plan saves time and prevents small problems from escalating.
Weekly basics: Feed fish appropriately, skim floating debris, rinse mechanical filters, and change about 10% of the pond water. These tasks take roughly 15 minutes when access is planned well.
- Test regularly: check pH, KH, ammonia, and nitrite to catch issues early and protect fish health.
- Protect beneficial bacteria: rinse biological media in pond water only so you don’t kill helpful microbes.
- Seasonal tune-ups: inspect the pump, pond skimmer, liner edges, and stones each spring and fall; perform a full deep clean annually.
Troubleshooting is straightforward. Remove excess debris to reduce algae, cut back feeding if ammonia rises, and confirm filtration is working. If waterfalls or fountains stop, oxygen can drop quickly.
“Install a backup air pump so oxygen stays steady if surface aeration fails.”
Design for easy access: valves, unions, and filter lids that are simple to reach will keep maintenance time low and water quality steady all year.
Conclusion
Build a lasting koi pond by pairing clear planning with the right gear and simple upkeep. Use a 45 mil EPDM liner, a bottom drain to a settling chamber, a mechanical skimmer, and biological filters to keep water stable.
Stick to at least 3 feet of depth and pick a size that fits your stocking goals—about 1,000–1,500 gallons for five fish and 3,000+ for larger groups. Add a waterfall or fountain for extra aeration and use plants to absorb excess nutrients.
Maintenance is light when designed for access: spend about 15 minutes weekly to feed, skim, rinse screens, change ~10% water, and test basics. With that approach, your backyard water feature stays healthy and rewarding for years.
You Might Also Like...