Transforming a simple water feature into a garden showpiece starts with a level, well-planned edge. Good edge work lifts the look and the long-term durability of your garden pond while cutting future maintenance.
Think through levels and materials before you dig. A center stake, straight timber, and a spirit level help set a true perimeter. This keeps the liner hidden and prevents low spots that reveal the membrane.
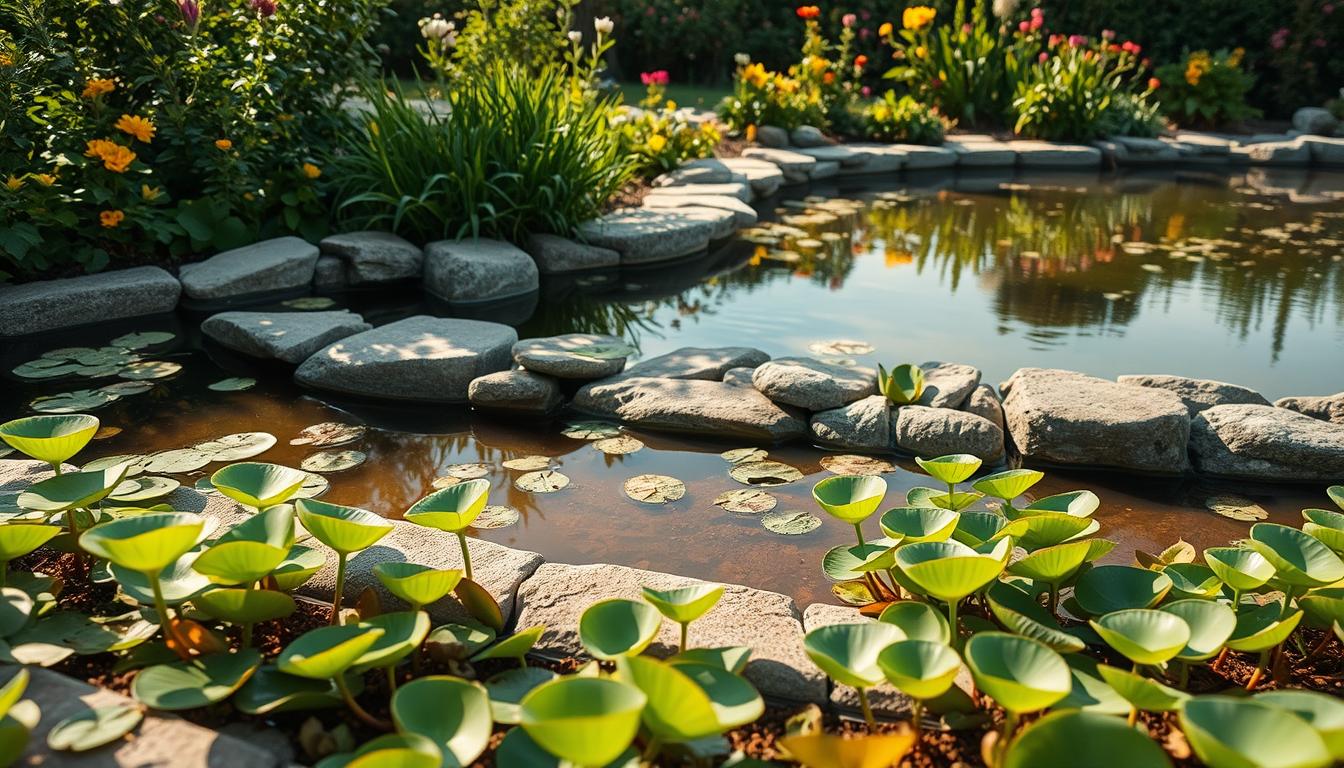
Combine stone, rocks and lush plants for texture and natural transitions. Use decking or seating at focal views, and softer bog areas where wildlife can access the water safely.
Avoid sharp gravel and treated timber that can damage the liner. Fill the basin, let the liner settle for a few days, then cap edges so materials do not overstretch as the ground adjusts.
Key Takeaways
- Set an accurate level before finishing edges to hide the liner.
- Mix stones and plants to balance beauty with wildlife access.
- Avoid sharp materials and treated wood near the liner.
- Let the liner sit filled for days before placing capping materials.
- Combine methods—decking, rock, and bog margins—for varied views.
Plan Your Pond Edge: Layout, Levels, and Footings for a Flawless Finish
A well-measured perimeter keeps the liner hidden and gives a clean, durable finish to your water design.
Mark contours and set levels
Tap a center stake at the finished height, run a straight timber to the rim, and use a spirit level to check the entire line. This creates a consistent level around pond and shows where internal shelves will sit.
When to pour footings
Pour a concrete footing 10–15 cm deep for paved or raised edges. Space pegs every 50–100 cm and leave them 10–15 cm above soil to screed to. Allow full cure time before loading with stones or slabs.
Liner slack, ducts, and soil support
Leave slack in the pond liner and fill with water for a few days to let soil settle before capping. Route ducts for cables and pipes inside the edge so future lighting or pumps avoid re-excavation.
- Checklist: levels verified, footing pegs set, ducts planned.
- Liner slack allowed and cure time scheduled.
- Compact soil beneath heavy materials to prevent subsidence.
Materials That Work: Stones, Plants, Bricks, Timber, and Gravel
Choose durable materials that suit your garden style and hold up to water, weather, and foot traffic. This helps ensure a tidy, long-lasting edge and protects the liner beneath heavy caps.

Natural stone options
Smooth river rocks give a soft look and finish visible gaps. Use flat stones as caps or stepping points for stability. Add one or two large rocks for bold accents and visual anchors.
Plant choices at the water’s edge
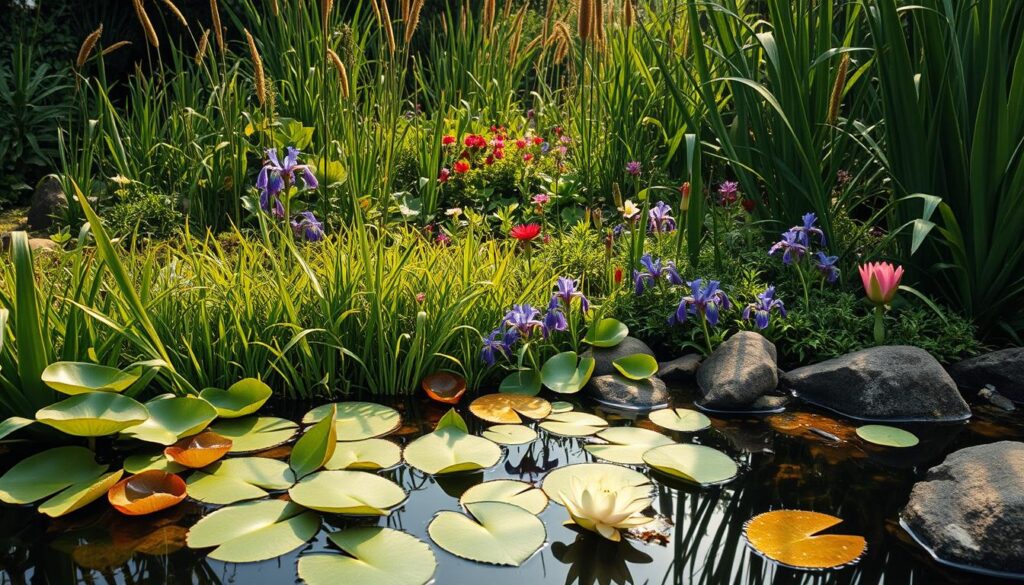
Pick marginal plants like irises and rushes for shallow shelves. Add flowering species for seasonal color. Include bog-tolerant plant varieties in saturated zones to help filter water and attract wildlife.
Formal and rustic border ideas
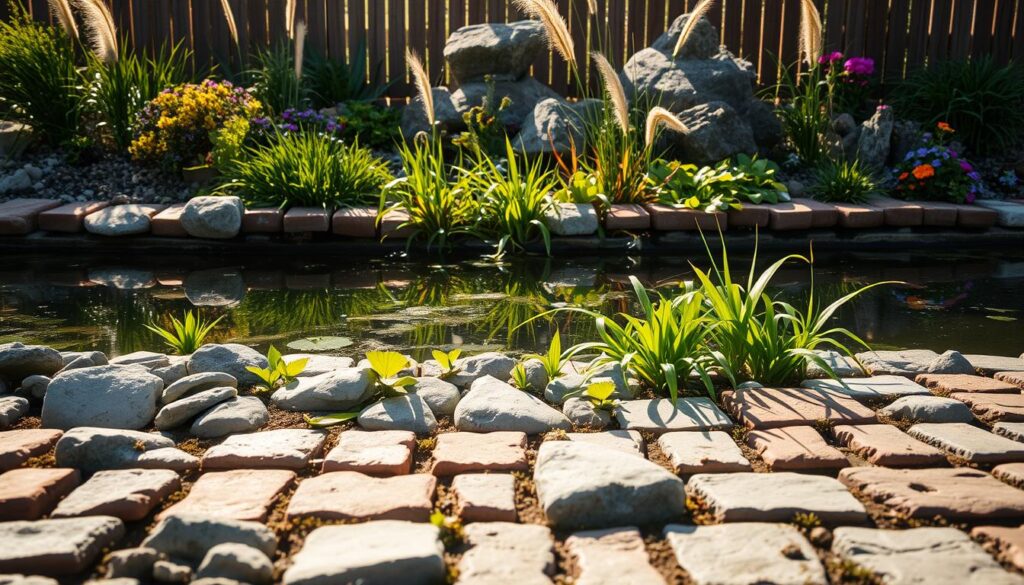
Bricks and paving slabs create crisp lines for modern designs. Hardwood or treated timber gives a warm, rustic look for more natural settings. Use pebbles and gravel under stone caps to aid drainage and to shim uneven joints.
- Protection tip: Always lay an underlay where stones or bricks sit over the liner to prevent abrasion.
- Mix materials around pond for variety: paved seating, planted shelves, and a rock cascade near water entry.
- Maintenance is simple: rinse pebbles, re-level stones as needed, and oil timber edges annually.
pond edging
A clear boundary around a water feature keeps soil, plants, and visitors safe.
What it is and why it matters. The finishing band of stone, wood, or planting frames the pond edge and protects the liner and banks. It also stops soil and roots from slipping into the water.
Benefits for appearance and durability
The right edge gives a cleaner look and helps control erosion in exposed areas around pond. It creates safe footing for people and contains planting media to simplify maintenance.
How edging links to overall design
Leveling the perimeter with a spirit level keeps the waterline even and avoids exposed liner. Good placement also directs circulation and improves viewing angles from patios, paths, and windows.
Materials and wildlife-friendly choices
Pick non-toxic, durable materials that won’t leach into the water. Plant-led margins provide shallow access for wildlife and soften hard lines for natural beauty.
Tip: Plan distinct areas — a formal seating edge by paving and softer natural margins for habitat — to balance use and ecology.
- Defines the transition between land and water
- Improves erosion control and containment of soil
- Supports safer access and easier maintenance
How to Build a Level, Leak-Safe Edge on a Liner Pond
A secure, level rim starts with careful excavation and a narrow trench to lock the liner in place. Dig consistent shelves to sit flat stones and plants, and cut a shallow trench at the rim so the liner can be tucked and anchored neatly.

Creating excavation shelves and trenching for liner tuck
Lay out shelves at the same height around the waterline. Keep soil back from the trench so the edge does not slump into the water.
Underlay use and liner protection around rocks and footings
Use underlay both beneath and above the liner where it meets concrete footings, stone, or rocks to prevent punctures. For structural supports, excavate 15 cm deeper, pour a 3:1 sand/cement mix, and allow at least 24 hours to cure.
- After cement work, remove spills and perform a full water change in a few days before adding fish or plants.
- Test-fit caps dry, then lift to bed them on a thin layer while keeping protection layers intact.
- Fill the basin to let the liner settle, check the level and waterline, and make fine adjustments before final caps.
Tip: Use small stone shims and gravel on top of underlay for a tight fit without cutting the liner.
Stone-Forward Pond Edge Designs That Hide the Liner
Stone-led edges offer a natural look while keeping the liner out of sight. Simple stone overlap is quick but may show the liner unless you lay cap stones to overhang the rim by a few centimeters.
Simple overlap vs. part-submerged rockwork
Simple stacks hide some liner but a part-submerged rock run conceals it fully and creates a natural water interface. Bed large rocks on a thin mortar where required and always place underlay under contact points to prevent abrasion.
Layered rock with gravel infill
Start with bigger stones low, medium rocks mid-level, and flat stones or caps on top. Use gravel and pebbles to lock joints, aid drainage, and prevent movement.
Paving slab caps and flagstone borders
For a clean, modern look, lay slabs on a level concrete footing. Fill the basin first and let the liner slack settle before setting caps to avoid overstretching. Bricks behind stone caps add strength in high-traffic areas.
Design tip: vary the look—place a bold boulder cluster at one corner, a low flagstone walk elsewhere, and a planted stretch between to blend hard materials with plants and wildlife zones.
Plant-Forward Ideas: Marginal Plants, Bog Zones, and Wildlife Beach Areas
Design wide, shallow shelves planted with moisture-loving species to form a lush transition from lawn to water. A planted margin softens the pond edge and creates habitat for pollinators and amphibians.

Shallow marginal shelf sizing
Set a shelf 15–30 cm wide with crowns 5–10 cm below the waterline for irises, rushes, and arrowhead. Space clumps 30–45 cm apart so plants fill in without overcrowding.
Bog area construction and soil handling
Line bog zones with underlay to stop soil and gravel washing into the basin. Use a graded mix—coarse gravel nearest the water, richer soil higher up—to retain moisture and stability.
Wildlife beach and containment
Form a gentle slope with stable footing for frogs and birds. Edge these areas with stones or hardwood logs to keep media contained and protect the liner.
- Tip: Pre-wash gravel, use planting baskets, and top-dress pots to reduce clouding.
- Choose native mixes for year-round structure and seasonal beauty.
- Maintain by trimming, dividing clumps, and re-leveling settled sections.
Note: Allow extra liner when planning shelves and beach shapes to avoid tension and future repair.
Raised and Structural Edges: Bricked, Timbered, and Decked Designs
Structural surrounds—brick walls, hardwood trims, and decking—give style and long-term support to your water feature.
Raised brick or stone walls can cradle the pond liner neatly inside the cavity so the final courses conceal it. Use a quality, flexible rubber liner and avoid folds below the waterline to reduce stress at tight corners.
Timber and hardwood options
Choose decay-resistant hardwoods or properly treated timber for trims. Angle boards to shed water and add a protective underlay where wood meets liner to stop abrasion.
Decks, bridges, and stepping stones
For sub-liner footings, excavate an extra 15 cm and pour a 3:1 sand/cement pad. Cure for at least 24 hours, then lay underlay, the liner, and a second underlay before building supports. Use brick or masonry pads under jetty uprights for secure bracing.
Tip: Route hidden ducts for lighting and pumps through raised walls so future upgrades won’t need demolition.
- Mix brick with a stone cap or timber facing to suit garden design and foot traffic.
- Fill the basin and let the liner settle a few days before setting cap stones for a true reveal.
- After masonry work, remove cement spills, neutralize lime, and change water if residues contact the water.
Liner Concealment Techniques for a Natural, Durable Pond Edge
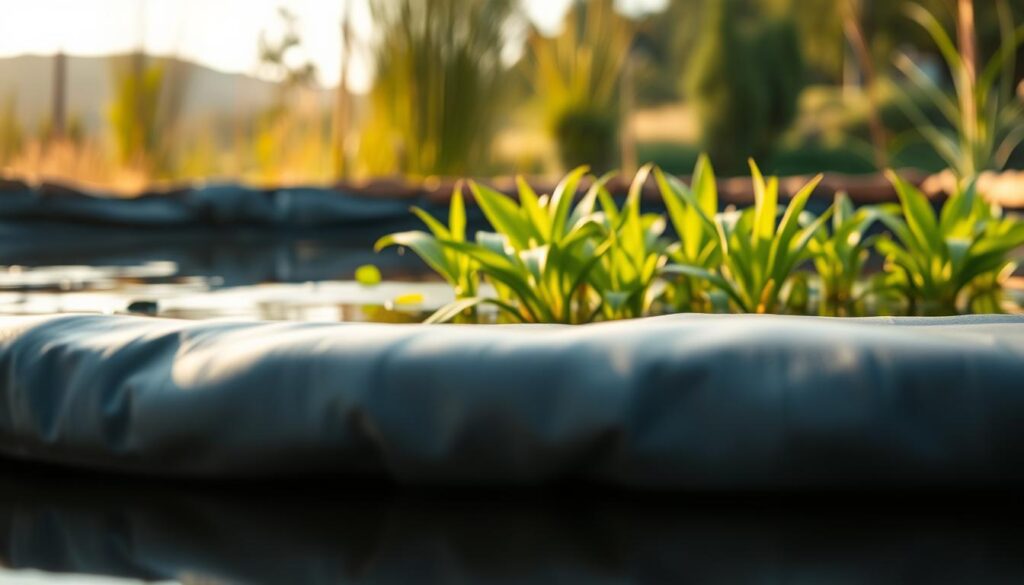
A neat, concealed liner gives the edge a finished, maintenance-friendly appearance. Start by tucking the liner into a narrow trench around the rim and backfill firmly. Cover the trench with landscape fabric to stop weeds and to protect the liner.
Gravel, mulch and trench anchoring
Finish the fabric with a layer of gravel or pebbles for a clean look. In light-use places mulch or small gravel work well. For high-traffic edges use flagstone or pavers to weigh the liner down and resist movement.
Using shelves, stones and plants
Create a shallow perimeter shelf to hold base rocks, mid-sized stones and a top layer of pebbles. Plant marginal plants in baskets on the shelf to shade the liner and soften the transition.
- Layering tip: big base rocks, medium stones, then pebbles to lock materials in place.
- Use fabric underlays to reduce weeds and protect the liner from abrasion.
- Trial-fit materials dry, then adjust to avoid capillary wicking or slow leaks.
Quick check: position plants so roots access moisture without disturbing the edge structure.
Care and Maintenance: Edge Stability, Erosion Control, and Seasonal Checks
A short, regular schedule of checks preserves the edge and keeps water clear all year. Good maintenance prevents small problems from becoming costly repairs.
Managing debris, inspecting for wrinkles and repairs
Remove debris weekly with a skimmer and use a seasonal net in autumn to save time. Lower water slightly to inspect the liner for wrinkles or small tears. Clean the area and apply a compatible patch kit for a watertight seal.
Erosion control with plants, fabric, and reinforced areas
Stabilize soil with fibrous-root plants and lay erosion-control fabric under gravel or mulch. Reinforce busy edging with broad flagstone or pavers to protect the liner and give a neat look.
Tip: Vacuum fines from shallow shelves and refresh pebbles to keep the water clear and surfaces tidy.
- Routine: remove debris weekly, inspect liner monthly, repair immediately.
- Seasonal steps: clear leaves in fall, use de-icers in winter, check caps in spring, trim plants in summer.
- Keep a repair kit, spare materials, and a small pump on hand for fast fixes around your garden pond.
Conclusion
A well-planned rim brings together form and function so your water feature lasts and looks cohesive.
Core formula: plan accurate levels, pour level footings where needed, and protect the liner with quality underlay. Choose materials that suit use and style for a durable, clean finish.
Work in sequence: trench and tuck the liner, form shelves, allow slack and fill to settle, then cap and finish. Blend rocks and plants to soften the look and support local wildlife.
Source stones, plants, bricks, liner, underlay, and gravel early. Check levels as you build, run extra ducts for future upgrades, and keep a simple maintenance routine to preserve the crisp look.
Next step: finalise your layout, confirm materials, and begin construction with liner protection and true levels as top priorities.


